How to Install PoE Devices: Complete Guide + Troubleshooting 2025
So I’m helping my buddy set up security cameras for his warehouse last month. He bought these fancy PoE cameras—single-cable power and data, he said. Sounded great. Then we started installing them and realized… we had no idea what we were doing. Which cable goes where? Do we need a special switch? How much power can one cable handle? We spent 3 hours on Google trying to figure it out.
That’s when I learned: Simplifying PoE device installation isn’t just about plugging in a cable. There’s actual planning involved. Power budgets, cable lengths, compatibility checks—it adds up fast if you don’t know what you’re doing.
PoE (Power over Ethernet) is effective when implemented correctly. One cable handles everything—no separate power adapters. Clean installation. But mess it up, and you’ll have devices that won’t power on, drop connections randomly, or fail.
Let me walk you through the complete process—what you actually need, step-by-step installation, power calculations, and how to troubleshoot when things go sideways.
Table of Contents
What is PoE? (The Real Explanation)
PoE lets you send power AND data through the same Ethernet cable (Cat5e, Cat6, Cat6a). Instead of running a power cord to your security camera, access point, or VoIP phone, you can run a single network cable.
Why it matters:
-
Cleaner installation (one cable per device)
-
Centralized power management (all devices powered from one source)
-
Easier maintenance (no hunting for power outlets)
-
Remote power control (turn devices on/off from your network)
Real example: I installed 8 PoE cameras in my buddy’s warehouse. Instead of 8 power outlets and eight network cables cluttering the space, we ran eight network cables to a PoE switch in the server room. Clean, organized, and works perfectly.
PoE Standards Explained: What You Need to Know
Not all PoE is created equal. Different standards deliver different power levels.
802.3af (Standard PoE)
-
Power delivery: Up to 15.4W per port
-
Devices powered: Basic IP cameras, VoIP phones, basic access points
-
Cable requirement: Cat5e minimum
-
Most common: Default for most PoE switches
802.3at (PoE+)
-
Power delivery: Up to 30W per port
-
Devices powered: PTZ cameras, high-power access points, some LED lighting
-
Cable requirement: Cat5e minimum (Cat6 recommended)
-
Growing standard: Most new installations use PoE+
802.3bt (PoE++, Hi-PoE)
-
Power delivery: Up to 60W or 90W per port
-
Devices powered: High-power devices, LED lighting systems, some displays
-
Cable requirement: Cat6 minimum (Cat6a recommended)
-
Specialized: For specific high-power applications
My recommendation: Buy PoE+ switches (802.3at). They can power both standard PoE devices AND PoE+ devices. Future-proof.
Tools & Equipment Needed: The Complete Kit
Before you start, gather everything. Nothing worse than being halfway through and realizing you’re missing a cable tester.
Essential Tools:
-
PoE Switch (or PoE injector if you only have 1-2 devices)
-
8-port PoE+ switch: ~$100-200
-
24-port PoE+ switch: ~$300-500
-
Port recommendation: Always buy more ports than you need (you’ll add devices later)
-
-
Ethernet Cables (Cat6 recommended)
-
Solid-core for permanent installation (in walls, ceilings)
-
Stranded for patch cables (device to jack)
-
Buy pre-terminated or terminate yourself
-
-
Cable Tester (validates cable connections)
-
Basic tester: $15-30
-
Professional tester: $100-300
-
-
PoE Injector (if using a non-PoE switch)
-
Single-device PoE: $20-40
-
Multiple devices: Get a proper PoE switch instead
-
-
PunToolown Tool (if terminating cables)
-
$15-25
-
-
Label Maker (cable management)
-
$30-50
-
Optional, But Recommended:
-
Network monitoring tool ($50-200) – shows real-time power consumption
-
Power meter (PoE tester) – shows actual power draw per device
-
Cable management (velcro ties, labels, patch panels)
Pro tip: Buy a PoE switch with built-in power monitoring. Shows you exactly how much power each port is drawing. Super helpful for troubleshooting.
Complete PoE Installation: Step-by-Step Guide
Step 0: Pre-Installation Planning (Critical)
Power Budget Calculation (do this FIRST):
-
List all PoE devices you plan to install
-
Find power consumption for each device (check spec sheet)
-
Example: IP camera = 12W, Access point = 15W, VoIP phone = 7W
-
-
Add them up: Total power needed
-
Check PoE switch power budget: Most switches have a total power budget (e.g., 120W for eight ports)
-
Ensure switch budget > device total: Leave 20% margin minimum
Example calculation:
-
8 IP cameras × 12W = 96W
-
2 access points × 15W = 30W
-
Total = 126W
-
Switch budget needed: 126W + 20% margin = 151W
-
Choose switch: 8-port PoE+ with 200W budget ✅
Cable length planning:
-
PoE works up to 100 meters (328 feet) per TIA/EIA standards
-
Keep cable runs under 90 meters for a safety margin
-
Measure your distances before buying cables
Labeling plan:
-
Label every cable at both ends (e.g., “Camera-1 to Switch-1”)
-
Document in a spreadsheet for future reference
Step 1: Install the PoE Switch
-
Location: Central location with power, ventilation, and network access
-
Mounting: Rack mount (if you have a rack) or shelf mount
-
Power: Connect to UPS if you have one (PoE devices stay online during power outages)
-
Network: Connect the uplink port to your router/network
Safety: PoE switches can get warm. Ensure ventilation. Don’t block vents.
Step 2: Run Ethernet Cables
For each device:
-
Measure the distance from the device location to the switch
-
Add 10% slack to cable length (you may need to move devices later)
-
Run cable (avoid power lines, fluorescent lights, heavy machinery)
-
Terminate cables (if using solid-core, terminate to RJ45 jacks at device end, patch panel at switch end)
-
Test each cable with a cable tester before connecting devices
Cable routing best practices:
-
Use cable management (J-hooks, cable trays) for neat installation
-
Keep cables away from heat sources
-
Label both ends immediately after running
-
Document cable paths (you’ll thank yourself later)
Pro tip: Color-code cables:
-
Blue = PoE devices
-
Yellow = regular network devices
-
Red = critical devices (security cameras, etc.)
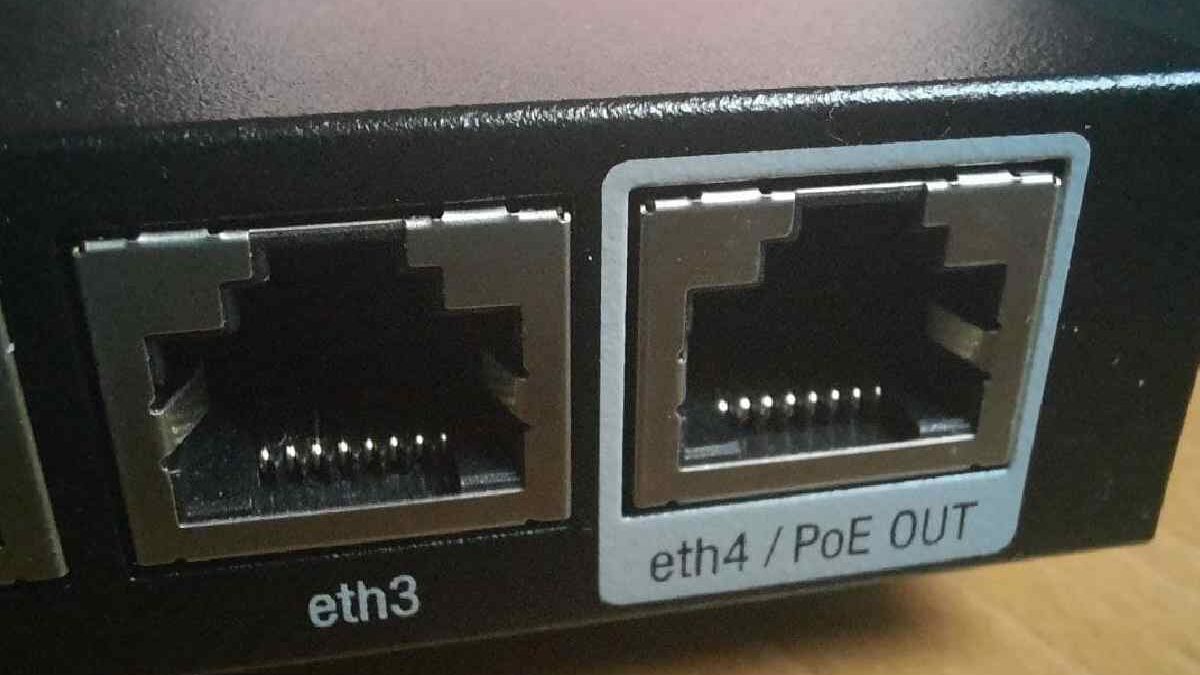
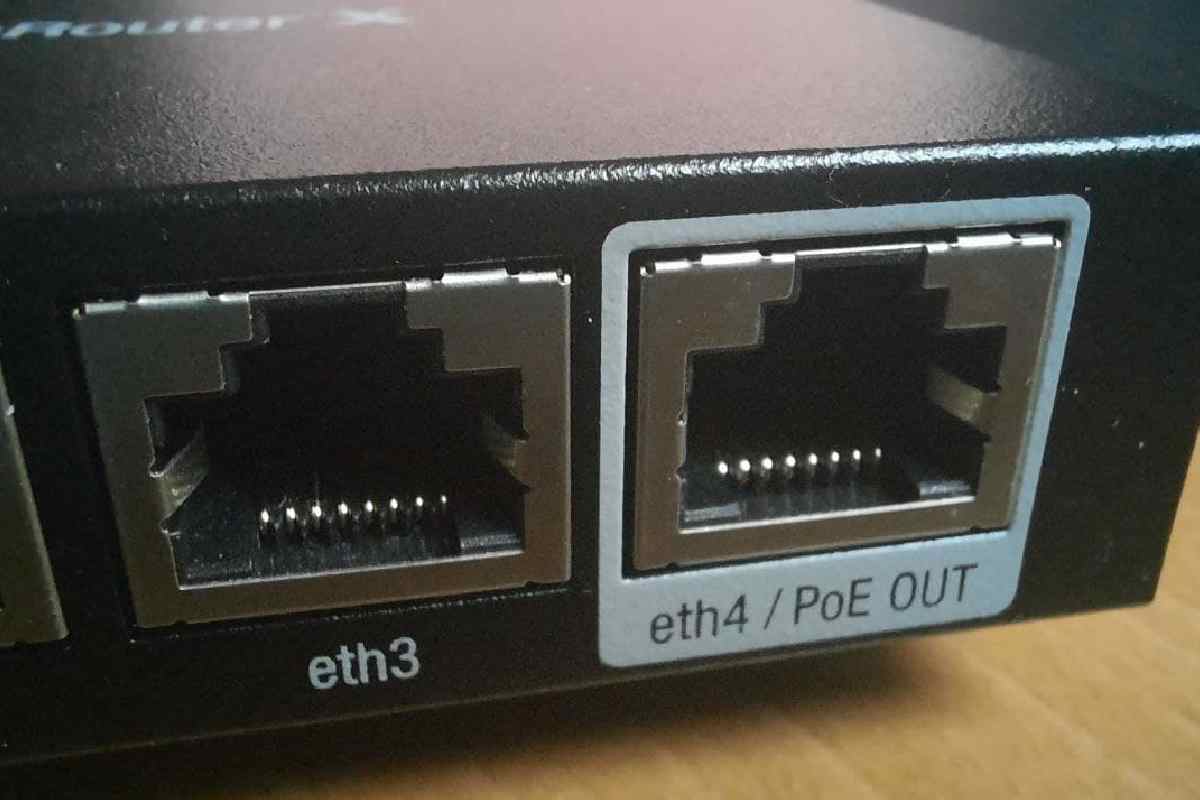
Step 3: Connect Devices to PoE Switch
At the device end:
-
Connect the RJ45 cable to the device port
-
The device should power on automatically (no separate power cord needed)
At the switch end:
-
Plug the cable into the PoE port (usually marked “PoE” or has a special color)
-
The switch should detect the device and provide power
Verify:
-
Check device LEDs (should light up)
-
Check switch port LED (should be green/activity)
-
If the device has a display, verify it’s powered and connected
Step 4: Configure Devices
Most PoE devices get IP addresses automatically (DHCP). But:
-
Check your router to see what IP addresses were assigned
-
Access device web interface (type IP into browser)
-
Configure devCamera name, resolution, recording settings, etc.)
-
Test functionality (does the camera stream? Does the phone work?)
Pro tip: Set static IP addresses on critical devices (cameras, access points) to prevent IP address changes. Makes troubleshooting easier.
Step 5: Monitor Power Consumption
On PoE switch:
-
Most managed switches show power draw per port in the web interface
-
Check each port: should show ~5-15W per device (typical)
-
Monitor periodically to catch issues
If using PoE injectors:
-
Harder to monitor—consider upgrading to a PoE switch for better management
Step 6: Document Everything
Create a spreadsheet with:
-
Device name
-
Location
-
IP address
-
MAC address
-
Power consumption (from spec sheet)
-
Port number on the switch
-
Cable label/ID
-
Installation date
Trust me: in 6 months, when something stops working, you’ll be glad you documented it.
PoE Troubleshooting FAQ: When Things Go Wrong
Problem: Device Not Powering On
Check:
-
Cable connection: Is the RJ45 fully seated in both the device and the switch?
-
PoE port: Is it plugged into a PoE port (not a regular data port)?
-
Cable tester: Does the cable pass the continuity test?
-
Cable length: Is it under 100 meters?
-
Cable type: Is it Cat5e or better?
-
Switch power budget: Is the total power draw under the switch budget?
-
Device compatibility: Is the device PoE compatible (not passive PoE)?
Solution: Usually a cable issue. Re-terminate or replace the cable. If that fails, try a different port on the switch.
Problem: Intermittent Power Loss (Device Randomly Reboots)
Check:
-
Power budget: Is the switch near the maximum power draw? Devices may lose power when others start up
-
Cable quality: Poor cables can’t deliver consistent power
-
Cable length: Longer cables = more voltage drop
-
Switch temperature: Overheated switches throttle power
-
Device power draw: Device may have transient spikes
Solution: Buy a switch with a higher power budget. Use better quality cables. Keep the switch well-ventilated.
Problem: Cable Compatibility Issues
Symptoms: Device powers on, but network connectivity is flaky
Check:
-
Cable pairs: PoE uses pairs 4-5 and 7-8. Some cheap cables don’t have all pairs connected
-
Cable standard: Cat5e minimum required for PoE+, Cat6 for PoE++
-
Cable termination: Are pairs properly terminated? Use the T568B standard
Solution: RToolace cable with Cat6. Re-terminate properly using the punch-down Tool.
Problem: Power Budget Exceeded
Symptoms: Some devices power on, others don’t. Random devices lose power.
Check:
-
Switch total power budget: Add up all device power consumption
-
Has the budget been exceeded?: If yes, you need a more powerful switch
-
Device actual draw: Use PoE tester to measure real power draw (may be higher than spec sheet)
Solution: Upgrade the switch to a higher power budget. Remove non-essential devices. Use lower-power devices where possible.
Problem: Heat Dissipation Issues
Symptoms: Switch feels hot, devices randomly reboot in hot weather
Check:
-
Ventilation: Is there a switch in the enclosed space? Needs airflow
-
Ambient temperature: Above 40°C (104°F) can cause issues
-
Device heat: Are devices in direct sunlight or hot environments?
-
Cable bundles: Tightly packed cables retain heat.
Solution: Move the switch to a more fabulous location. Add fans—separate cable bundles. Use higher temperature-rated equipment.
Problem: Network Works, But PoE Doesn’t
Symptoms: Device network connectivity works when powered separately, but not with PoE
Check:
-
Device is PoE compatible: Some devices require passive PoE (non-standard)
-
Switch PoE mode: Some switches have a per-port PoE turn-off
-
Cable pairs: PoE requires all eight wires. Some cables only connect four wires
Solution: Use a PoE splitter (injects power separately). Re-terminate the cable with all pairs connected.
Problem: Devices Work Individually, But Not All Together
Symptoms: Each device works when plugged in alone, but when all devices are connected, some fail
Check:
-
Switch power budget: You’ve exceeded the total power budget
-
Cable quality: Some cables can’t handle full power when all devices draw
-
Voltage drop: Long cable runs cause a voltage drop at the device end
Solution: Use shorter cables or higher-gauge cable. Upgrade the switch with a higher power budget.
Power Budget Calculator: Do This First
Downloadable asset: PoE Installation Checklist & Power Budget Cameraator Excel [placeholder link]
Manual calculation:
-
LPhonell devices:
-
Device 1: IPCameraa = 12W
-
Device 2: Access Point = 15W
-
Device 3: VoIP Phone = 7W
-
Device 4: Another Camera = 12W
-
-
Calculate total:
-
12 + 15 + 7 + 12 = 46W
-
-
Add 20% safety margin:
-
46W × 1.20 = 55.2W minimum switch budget
-
-
Choose switch:
-
8-port PoE+ switch with 120W budget ✅
-
8-port PoE+ switch with 60W budget ⚠️ (too close to limit)
-
4-port PoE injector setup ❌ (too many devices for injectors)
-
Rule of thumb: If the total power draw is over 50% of the switch budget, upgrade to a higher-capacity switch.
Safety Considerations: Don’t Skip This
Electrical safety:
-
PoE is low voltage (48V DC), but still follows electrical codes
-
Don’t run cables near water pipes without proper insulation
-
Use outdoor-rated cables for outdoor installations
-
Ground your equipment properly
Cable safety:
-
Don’t overload cable bundles (heat buildup)
-
Keep cables away from sharp edges
-
Use strain relief at terminations
-
Label emergency shutdown procedures
Fire safety:
-
PoE switches can overheat if ventilation is poor
-
Don’t block vents on PoE switches
-
Keep flammable materials away from switches
-
Consider fire suppression for server rooms
Pro tip: Install a smoke detector near your PoE equipment. Rare, but if something overheats, you’ll know.
PoE vs PoE+ vs PoE++: When to Use What
Use 802.3af (Standard PoE):
-
Basic IP cameras (non-PTZ)
-
VoIP phones
-
Simple access points
-
LED lights (low power)
Use 802.3at (PoE+):
-
PTZ cameras (pan-tilt-zoom)
-
High-power access points (enterprise grade)
-
Some LED lighting systems
-
Small network switches
Use 802.3bt (PoE++/Hi-PoE):
-
High-power LED lighting (parking lots, stadiums)
-
Digital signage displays
-
Large PTZ cameras with heaters
-
Thin clients (computer terminals)
My rule: Unless you know exactly what you’re powering, buy PoE+ switches. They handle everything standard PoE can, plus higher-power devices.
Common PoE Devices & Their Power Requirements
| Device Type | Typical Power | PoE Standard | Notes |
|---|---|---|---|
| IP Camera (basic) | 5-12W | 802.3af | Most common |
| IP Camera (PTZ) | 15-25W | 802.3at | Motors need more power |
| WiFi Access Point | 10-20W | 802.3af/at | Enterprise APs need PoE+ |
| VoIP Phone | 5-10W | 802.3af | Standard |
| LED Light (single) | 10-40W | 802.3at/bt | Varies widely |
| Network Switch (small) | 15-30W | 802.3at | Some are PoE-powered |
| Digital Signage | 30-60W | 802.3bt | High power |
| Thin Client | 20-40W | 802.3at/bt | Computer terminals |
Always check the spec sheet: power consumption varies by model and features.
Internal Linking: PoE in Business Context
PoE installation is part of a larger business tech infrastructure:
Small business setup: My mini gadgets guide includes network equipment recommendations that complement PoE installations.
Growth planning: When scaling your business, PoE simplifies adding devices. See my business growth guide for scaling strategies.
Digital marketing: If you’re installing PoE cameras for live streaming or content creation, pair them with digital marketing tools to create a complete setup.
FAQ: PoE Installation Questions
“Can I use a regular Ethernet cable for PoE?”
Yes, but Cat6 or better is recommended for PoE+ and PoE++. Cat5e works for standard PoE.
“How long can PoE cables be?”
Maximum 100 meters (328 feet) per TIA/EIA standards. Keep 90 meters below for safety.
“Do I need a special switch for PoE?”
Yes. Regular switches don’t provide power. You need a PoE switch or PoE injectors.
“Can PoE damage non-PoE devices?”
No. PoE switches detect if the device is PoE-compatible before sending power. Safe to plug regular devices into PoE ports.
“Is PoE safe?”
Yes. Low voltage (48V DC). Follow standard electrical safety practices.
“How many devices can one switch power to?”
Depends on the switch’s power budget. An 8-port switch with a 120W budget can power eight 15W devices.
“What if my device isn’t PoE compatible?”
Use a PoE splitter (separates power and data) or power